Introduction
The Carrier 50XZ36 blower motor wiring diagram is an important issue for the know-how of the electrical format and connection tactics in HVAC systems. This diagram is important for technicians, engineers, and DIY lovers who are trying to install, restore, or troubleshoot the blower motor of the Carrier 50XZ36. In this manual, we will delve deeply into the details of the wiring diagram, providing a clear and structured explanation. With a focus on the Carrier 50XZ36 blower motor wiring diagram, this text can even spotlight safety measures, thing functionalities, and exceptional practices for wiring.
Understanding the Carrier 50XZ36 Blower Motor
The blower motor inside the Carrier 50XZ36 is an essential part of the HVAC machine. It ensures the circulation of air through the unit, that’s important for preserving the desired temperature in a given area. Whether in cooling or heating mode, the blower motor operates seamlessly to provide consolation.
The Carrier 50XZ36 blower motor wiring diagram acts as a roadmap, permitting users to pick out the connections and components vital for correct operation. Typically, the diagram includes details about power resources, managed boards, relays, capacitors, and connections to the motor itself.
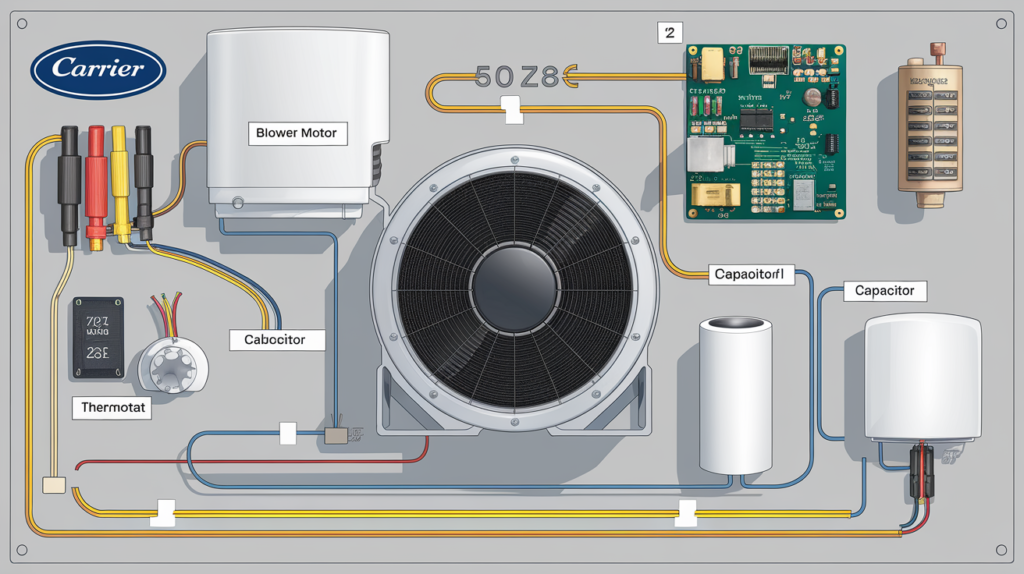
Components inside the Wiring Diagram
Blower Motor
The blower motor is the heart of the machine, liable for propelling air via the ducts. In the Carrier 50XZ36 blower motor wiring diagram, the motor is represented with clear markings to suggest connections for distinct speeds and operations.
Capacitor
A capacitor is used to start the blower motor and maintain its operation at optimum performance. The wiring diagram showcases the specific terminals where the capacitor is connected.
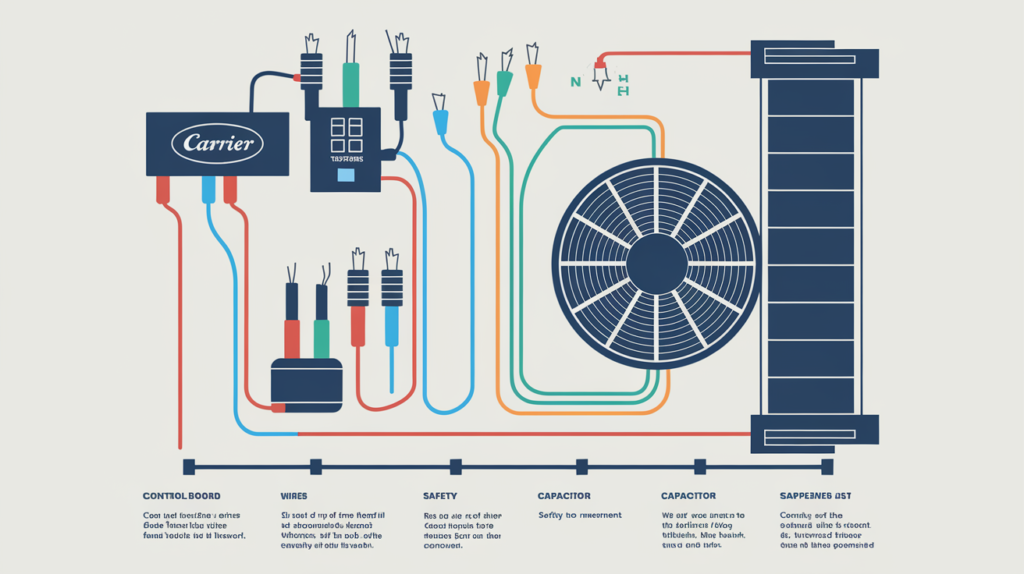
Control Board
The control board regulates the motor’s operation based on inputs from the thermostat. In the Carrier 50XZ36 blower motor wiring diagram, connections from the control board to the motor are clearly illustrated.
Power Source
The power supply, either single-phase or three-phase, is a critical component. The wiring diagram indicates how power flows into the motor and other elements.
Thermostat Wiring
The thermostat plays a role in controlling the blower motor. The details of Carrier 50XZ36 blower motor wiring diagram how the thermostat connects to the system for effective operation.
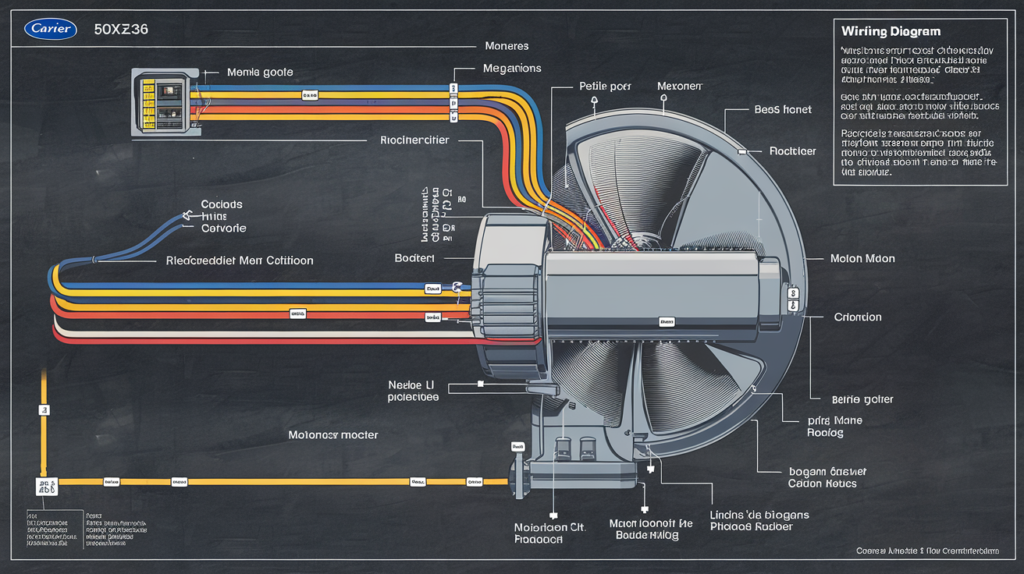
How to Read the Carrier 50XZ36 Blower Motor Wiring Diagram
Interpreting the Carrier 50XZ36 blower motor wiring diagram requires a basic understanding of electrical schematics. The diagram uses standardized symbols to represent components and wiring connections. Here are some tips for reading the diagram:
Identify Key Symbols
Look for symbols that represent the blower motor, capacitor, control board, and relays. These symbols are often labeled for clarity.
Follow the Wiring Paths
The wiring diagram shows how electricity flows from the power source through various components to the blower motor. Tracing these paths helps in understanding the sequence of connections.
Check Color Codes
Wiring diagrams for HVAC systems often include color-coded wires. The Carrier 50XZ36 blower motor wiring diagram specifies the color of each wire, making it easier to identify connections during installation or repair.
Note Speed Settings
Blower motors often have multiple speed settings. The diagram indicates which wires correspond to high, medium, and low speeds.
Installation Process for Carrier 50XZ36 Blower Motor
Installing a blower motor using the Carrier 50XZ36 blower motor wiring diagram is a methodical process. Gentle installation guarantees the proficiency and life span of the framework. Here’s an overview of the steps involved:
Preparation
Before beginning, ensure the power supply to the HVAC unit is turned off. Gather the necessary tools, including wire strippers, a multimeter, and the wiring diagram. Verify that you have the correct replacement motor and capacitor compatible with the Carrier 50XZ36.
Inspect the Wiring
Examine the existing wiring in the HVAC system. Compare it to the Carrier 50XZ36 blower motor wiring diagram to identify any discrepancies or damaged connections.
Connect the Capacitor
Using the wiring diagram, connect the capacitor to the appropriate terminals. The capacitor wires should align with the specifications detailed in the diagram.
Wire the Blower Motor
Attach the wires from the blower motor to the corresponding terminals on the control board, power source, and capacitor. The Carrier 50XZ36 blower motor wiring diagram ensures the accurate placement of each wire.
Secure Connections
Tighten all connections to prevent loose wiring. Use wire nuts or connectors as specified in the diagram.
Test the System
Restore power to the unit and test the blower motor. If the motor operates smoothly and all connections match the Carrier 50XZ36 blower motor wiring diagram, the installation is complete.
Troubleshooting Common Issues
The Carrier 50XZ36 blower motor wiring diagram is invaluable when diagnosing and resolving problems. Common issues include:
Blower Motor Fails to Start
It could result from a faulty capacitor, incorrect wiring, or a blown fuse. The diagram helps pinpoint the exact cause by showing the connections and components involved.
Inconsistent Airflow
If the motor runs intermittently or at the wrong speed, check the wiring against the Carrier 50XZ36 blower motor wiring diagram for errors.
Overheating Motor
Overheating may occur due to improper wiring or a failing capacitor. The diagram guides verifying the connections and replacing faulty components.
Noise or Vibration
Misaligned wiring or loose connections can cause noise. Utilize the wiring chart to guarantee everything is safely associated.
Safety Considerations
Working with electrical components involves inherent risks. The Carrier 50XZ36 blower motor wiring diagram not only facilitates proper connections but also highlights safety precautions:
- Continuously switch off the power supply prior to taking care of wires.
- Use insulated tools to prevent electric shock.
- Double-check all connections against the diagram to avoid short circuits.
Benefits of Using the Carrier 50XZ36 Blower Motor Wiring Diagram
The Carrier 50XZ36 blower motor wiring diagram offers numerous advantages:
Accuracy
By following the diagram, users can ensure precise connections, reducing the risk of errors.
Efficiency
A clear understanding of the wiring diagram speeds up the installation or repair process.
Troubleshooting Aid
The diagram serves as a reference point for identifying and resolving issues in the HVAC system.
Compliance with Standards
Adhering to the wiring diagram ensures compliance with industry standards and manufacturer specifications.
Maintenance Tips for Carrier 50XZ36 Blower Motor
Inspect Wiring Regularly
Occasionally, take a look at the wiring associations for indications of wear or harm. Use the diagram as a reference for proper alignment.
Test the Capacitor
Use a multimeter to check the capacitor. If it suggests signs of failure, refer to the Carrier 50XZ36 blower motor wiring diagram for alternative instructions.
Conclusion
The Carrier 50XZ36 blower motor wiring diagram is a cornerstone for the right functioning of the blower motor in HVAC systems. Whether for installation, troubleshooting, or upkeep, the diagram presents specific insights into the electrical connections. By adhering to the commands and pointers provided in this text, customers can ensure the secure and efficient operation of their Carrier 50XZ36 blower motor.