Introduction
The LM7 4 pin to 1 cable alternator wiring diagram Chevy is an essential guide for automotive enthusiasts and mechanics who work with GM’s LM7 engine. The LM7 represents a 5.3L Vortec V8 engine, which GM includes in their LS-based family of engines. The LM7 4-pin-to-1 cable alternator data existed in Chevrolet and GMC trucks spanning 1999 through 2007. Among the selected engine electrical components, the alternator assumes a crucial position to generate power that recharges the battery and supplies additional electrical power to various accessories. Ốptimal electrical connections along with reliable charging and peak performance are achieved through understanding the LM7 4-pin-to-1 cable alternator wiring diagram according to Chevy specifications.
The Function of the Alternator in the LM7 Engine
An LM7 engine depends on the alternator to perform its role of transforming mechanical power into electrical power. Through electromagnetic induction, the device creates alternative current (AC) by rotating magnetic fields. Direct current (DC) emerges from the AC power so it can energize the battery to charge and power the vehicle’s electrical system. The LM7 4 pin to 1 cable alternator wiring diagram Chevy provides the necessary details to correctly wire the alternator and ensure it functions efficiently within the vehicle.
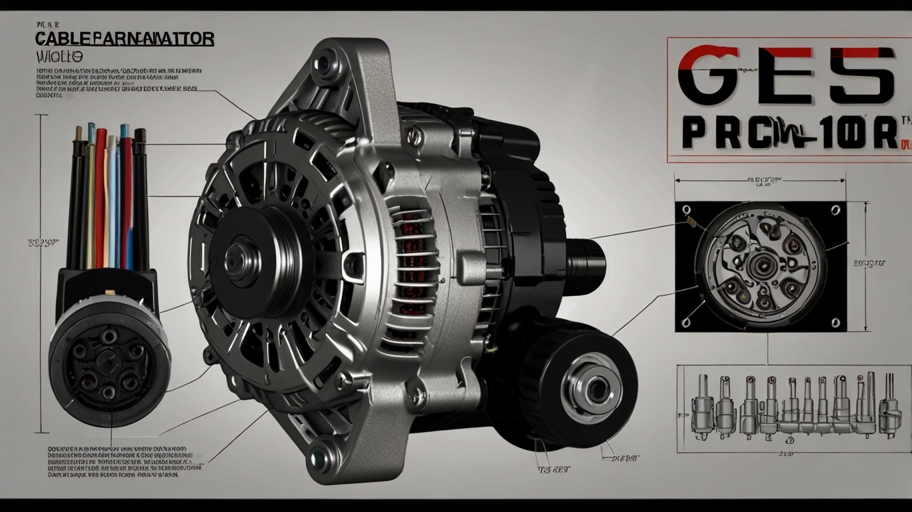
Understanding the 4-Pin Connector on the LM7 Alternator
The LM7 4-pin to 1 cable alternator wiring diagram of Chevy includes details about the four-pin Connector found on the alternator. These four pins serve distinct functions and are critical for the alternator’s operation:
- Ignition (IG) Terminal: This pin connects to the ignition switch and is responsible for activating the alternator when the engine is running.
- Sensing (S) Terminal: This pin monitors battery voltage and allows the alternator to adjust output accordingly.
- Lamp (L) Terminal: This terminal is connected to the dashboard’s charging system warning light, which indicates potential charging issues.
- Field (F) Terminal: Used to regulate the alternator’s output by controlling the field current.
When converting to a single cable connection, these four wires are typically consolidated to simplify installation and improve reliability. The LM7 4-pin to 1 cable alternator wiring diagram Chevy illustrates the process of combining these connections while ensuring all functionalities remain intact.
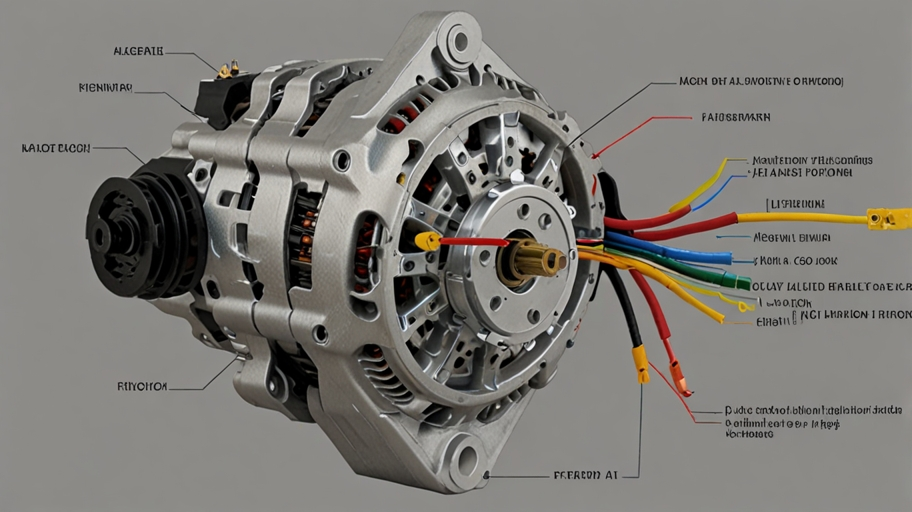
Converting a 4-Pin Alternator to a 1-Cable System
Many enthusiasts and mechanics prefer simplifying the LM7’s alternator wiring by converting it from a four-pin connection to a single-wire system. The LM7 4-pin to 1 cable alternator wiring diagram Chevy provides step-by-step guidance on making this modification.
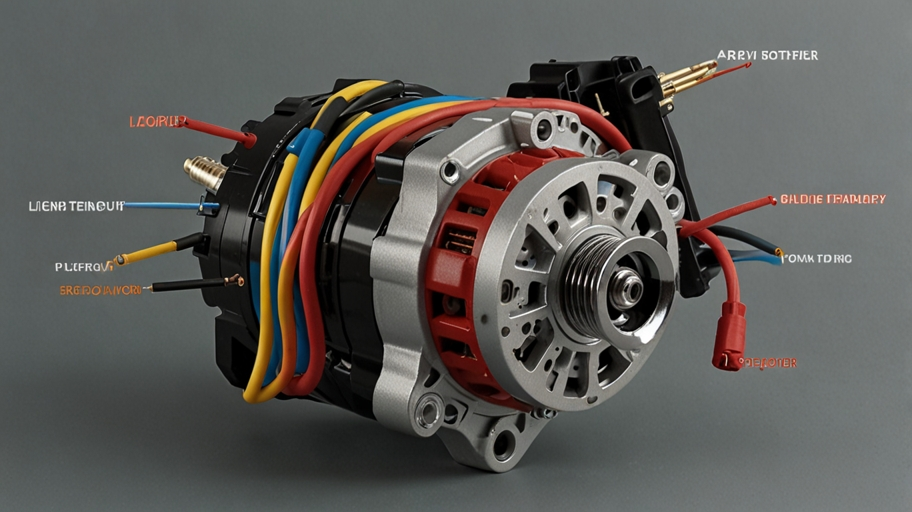
The conversion process involves bypassing the external voltage sensing and internal regulation mechanisms so that the alternator self-regulates. It is often done using a self-exciting alternator, which contains an internal voltage regulator that eliminates the need for an external sensing wire.
In most cases, the one-wire alternator is connected directly to the battery or main power junction block. The voltage regulator detects when the engine is running and automatically begins charging, eliminating the need for a separate ignition input. The LM7 4-pin to 1 cable alternator wiring diagram of Chevy details how to route this single cable to ensure optimal functionality.
Benefits of a 1-Cable Alternator Setup
The LM7 4-pin to 1 cable alternator wiring diagram Chevy highlights the benefits of converting from a four-pin connection to a single-wire setup, including:
- Simplified Wiring: Reducing the number of wires eliminates potential connection failures and makes the installation process easier.
- Improved Reliability: Fewer wires mean fewer failure points, enhancing the alternator’s long-term durability.
- Easier Troubleshooting: A single-wire system makes diagnosing electrical issues simpler compared to a multi-wire setup.
- Better Engine Bay Organization: Removing unnecessary wiring reduces clutter and enhances the overall appearance of the engine bay.
Steps for Wiring an LM7 Alternator Using the 4-Pin to 1-Cable Conversion
The LM7 4-pin to 1 cable alternator wiring diagram Chevy provides precise wiring instructions to ensure a proper conversion. The steps typically include:
- Disconnecting the Battery: Safety first—disconnect the vehicle’s battery before making any modifications to the alternator wiring.
- Identifying the Alternator Terminals: Locate the four-pin Connector and determine the function of each wire.
- Bypassing the Unnecessary Wires: The S, L, and F terminals are no longer needed in a one-wire setup, so they should be capped or removed.
- Connecting the Single Power Cable: The remaining wire is routed directly to the battery or main power junction.
- Ensuring Proper Grounding: A solid ground connection is critical for reliable alternator performance.
- Testing the System: Once the wiring is complete, reconnect the battery and start the engine to verify proper charging functionality.
Following the LM7 4 pin-to-1 cable alternator wiring diagram, Chevy helps ensure the conversion is performed correctly, resulting in a well-functioning charging system.
Common Issues and Troubleshooting
The LM7 4-pin to 1 cable alternator wiring diagram Chevy also assists in diagnosing common issues that may arise during installation or operation. Some potential problems include:
Alternator Not Charging: This could be due to improper wiring, a faulty voltage regulator, or poor grounding.
Battery Draining Overnight: A malfunctioning alternator diode may allow current to flow backward, draining the battery when the vehicle is off.
Dashboard Warning Light Stays On: This typically occurs if the lamp wire is not properly disconnected or if the alternator is not producing sufficient voltage.
Overcharging Issues: If the voltage regulator fails, the alternator may produce excessive voltage, which can damage the battery and other electrical components.
By referencing the Chevy LM7 4-pin to 1 cable alternator wiring diagram, mechanics can quickly identify and resolve these issues.
Importance of Proper Alternator Wiring
Alienation of the charging wires is the top priority to guarantee system reliability and operational efficiency. The LM7 4-pin to 1 cable alternator wiring diagram Chevy serves as a clear guide for both installation and troubleshooting of alternator cables to achieve peak electrical performance. Incorrect wiring can lead to charging failures, electrical malfunctions, and even potential damage to vehicle components. Taking the time to understand and correctly implement the LM7 4 pin-to-1 cable alternator wiring diagram, Chevy ensures long-term reliability and performance.
Conclusion
The LM7 4-pin to 1 cable alternator wiring diagram Chevy is an invaluable resource for anyone working on an LM7-powered vehicle. Whether performing a full wiring conversion or troubleshooting existing alternator connections, understanding this diagram is crucial for maintaining a properly functioning charging system. By converting the traditional four-pin alternator wiring to a simplified one-wire system, vehicle owners can enjoy a more reliable, efficient, and easier-to-maintain electrical setup.
With the information provided in the LM7 4 pin to 1 cable alternator wiring diagram Chevy, enthusiasts and professionals alike can confidently wire and maintain their alternators, ensuring a steady power supply for all vehicle functions. Proper alternator wiring is not just about functionality—it’s about achieving peak electrical performance for a smooth and trouble-free driving experience.
Read More: Flying Distance from Rutland, VT, to Parowan, Utah by Plane